
Pour servir une version véritablement localisée de votre site (par exemple, hi.yoursite.com pour le hindi), MultiLipi nécessite un Handshake DNS. En créant un enregistrement CNAME spécifique, vous autorisez notre infrastructure à gérer le trafic pour ce sous-domaine linguistique spécifique, tandis que votre site principal reste intact sur votre serveur d'origine.
Ce guide détaille le Protocole d'injection CNAME requis pour mettre vos langues en ligne.
1. L'architecture de routage
Comprendre le flux.
Votre domaine principal
example.com
→ Pointeur vers Votre serveur (Shopify/Webflow/WordPress)
Le sous-domaine linguistique
hi.example.com
→ Pointeur vers Moteur de traduction MultiLipi
Nous réalisons ce routage fractionné à l'aide d'un CNAME (Nom canonique) enregistrement. Cela agit comme un panneau de signalisation, indiquant aux navigateurs : "Pour la version hindi, allez sur MultiLipi."
2. Étape 1 : Provisionnement du point de terminaison
Avant de toucher à votre DNS, vous devez générer la cible de destination unique.
Accéder au tableau de bord :
Connectez-vous à MultiLipi et sélectionnez votre projet.
Accéder à la configuration :
Aller au nouveau projet.
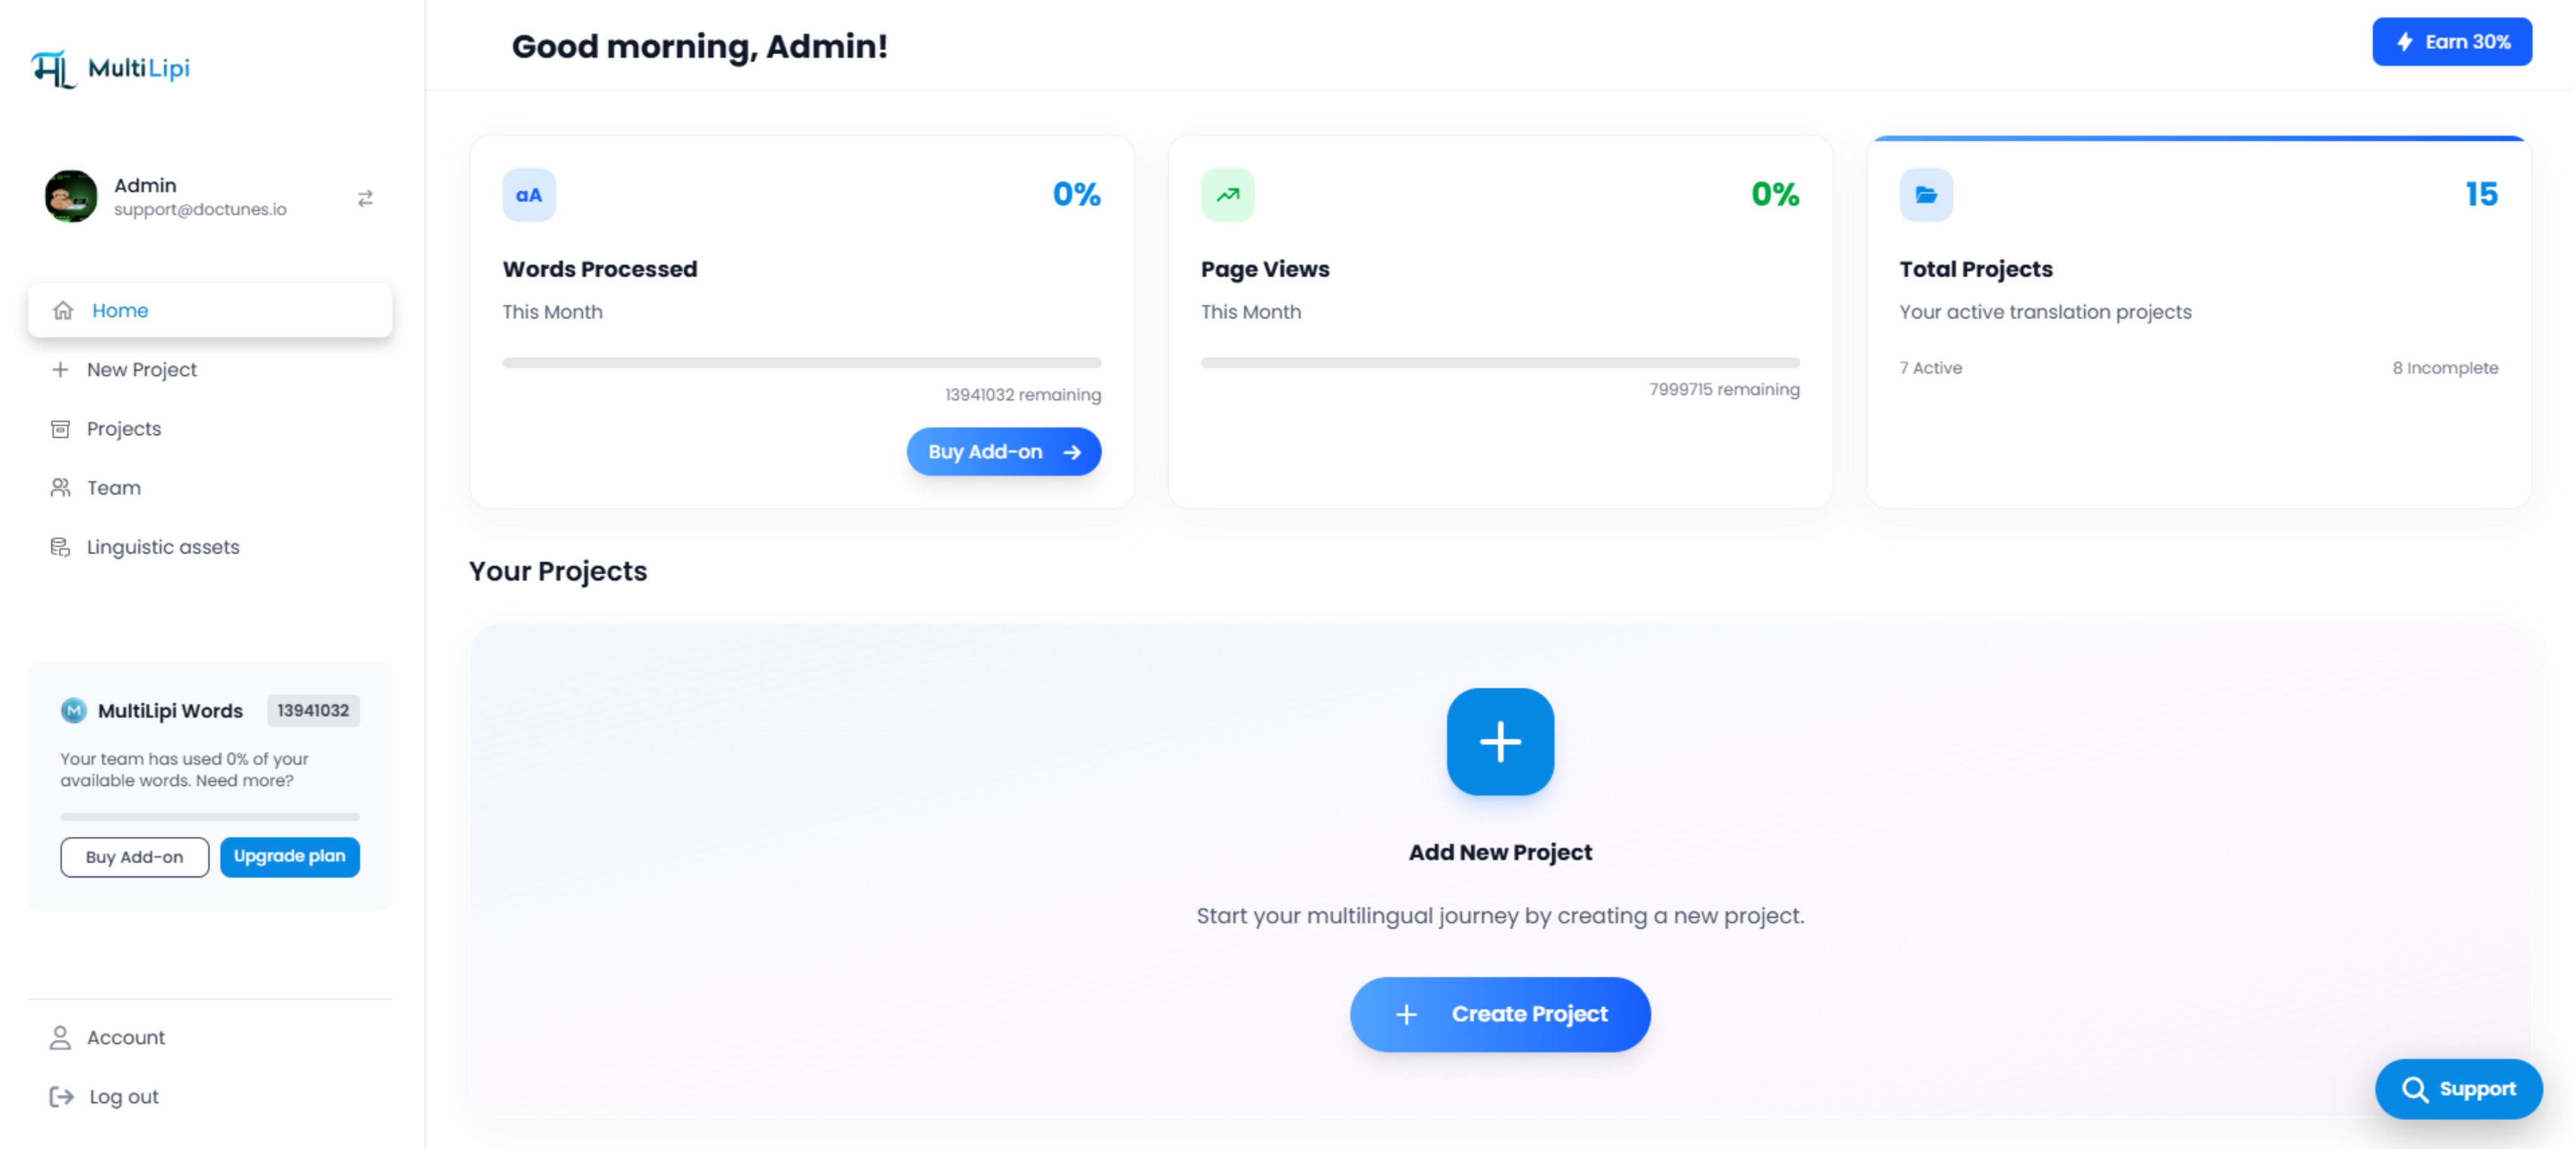
Tableau de bord MultiLipi avec l'interface "Ajouter un nouveau projet"
Sélectionner les langues :
Choisissez les langues que vous souhaitez déployer (par exemple, Hindi, Français).
Générer les valeurs :
Le système produira une paire Hôte et Valeur unique pour chaque langue.
Exemple de sortie :
salutmultilipi.centralindia.cloudapp.azure.comRemarque : Votre point de terminaison spécifique peut varier en fonction de votre région.
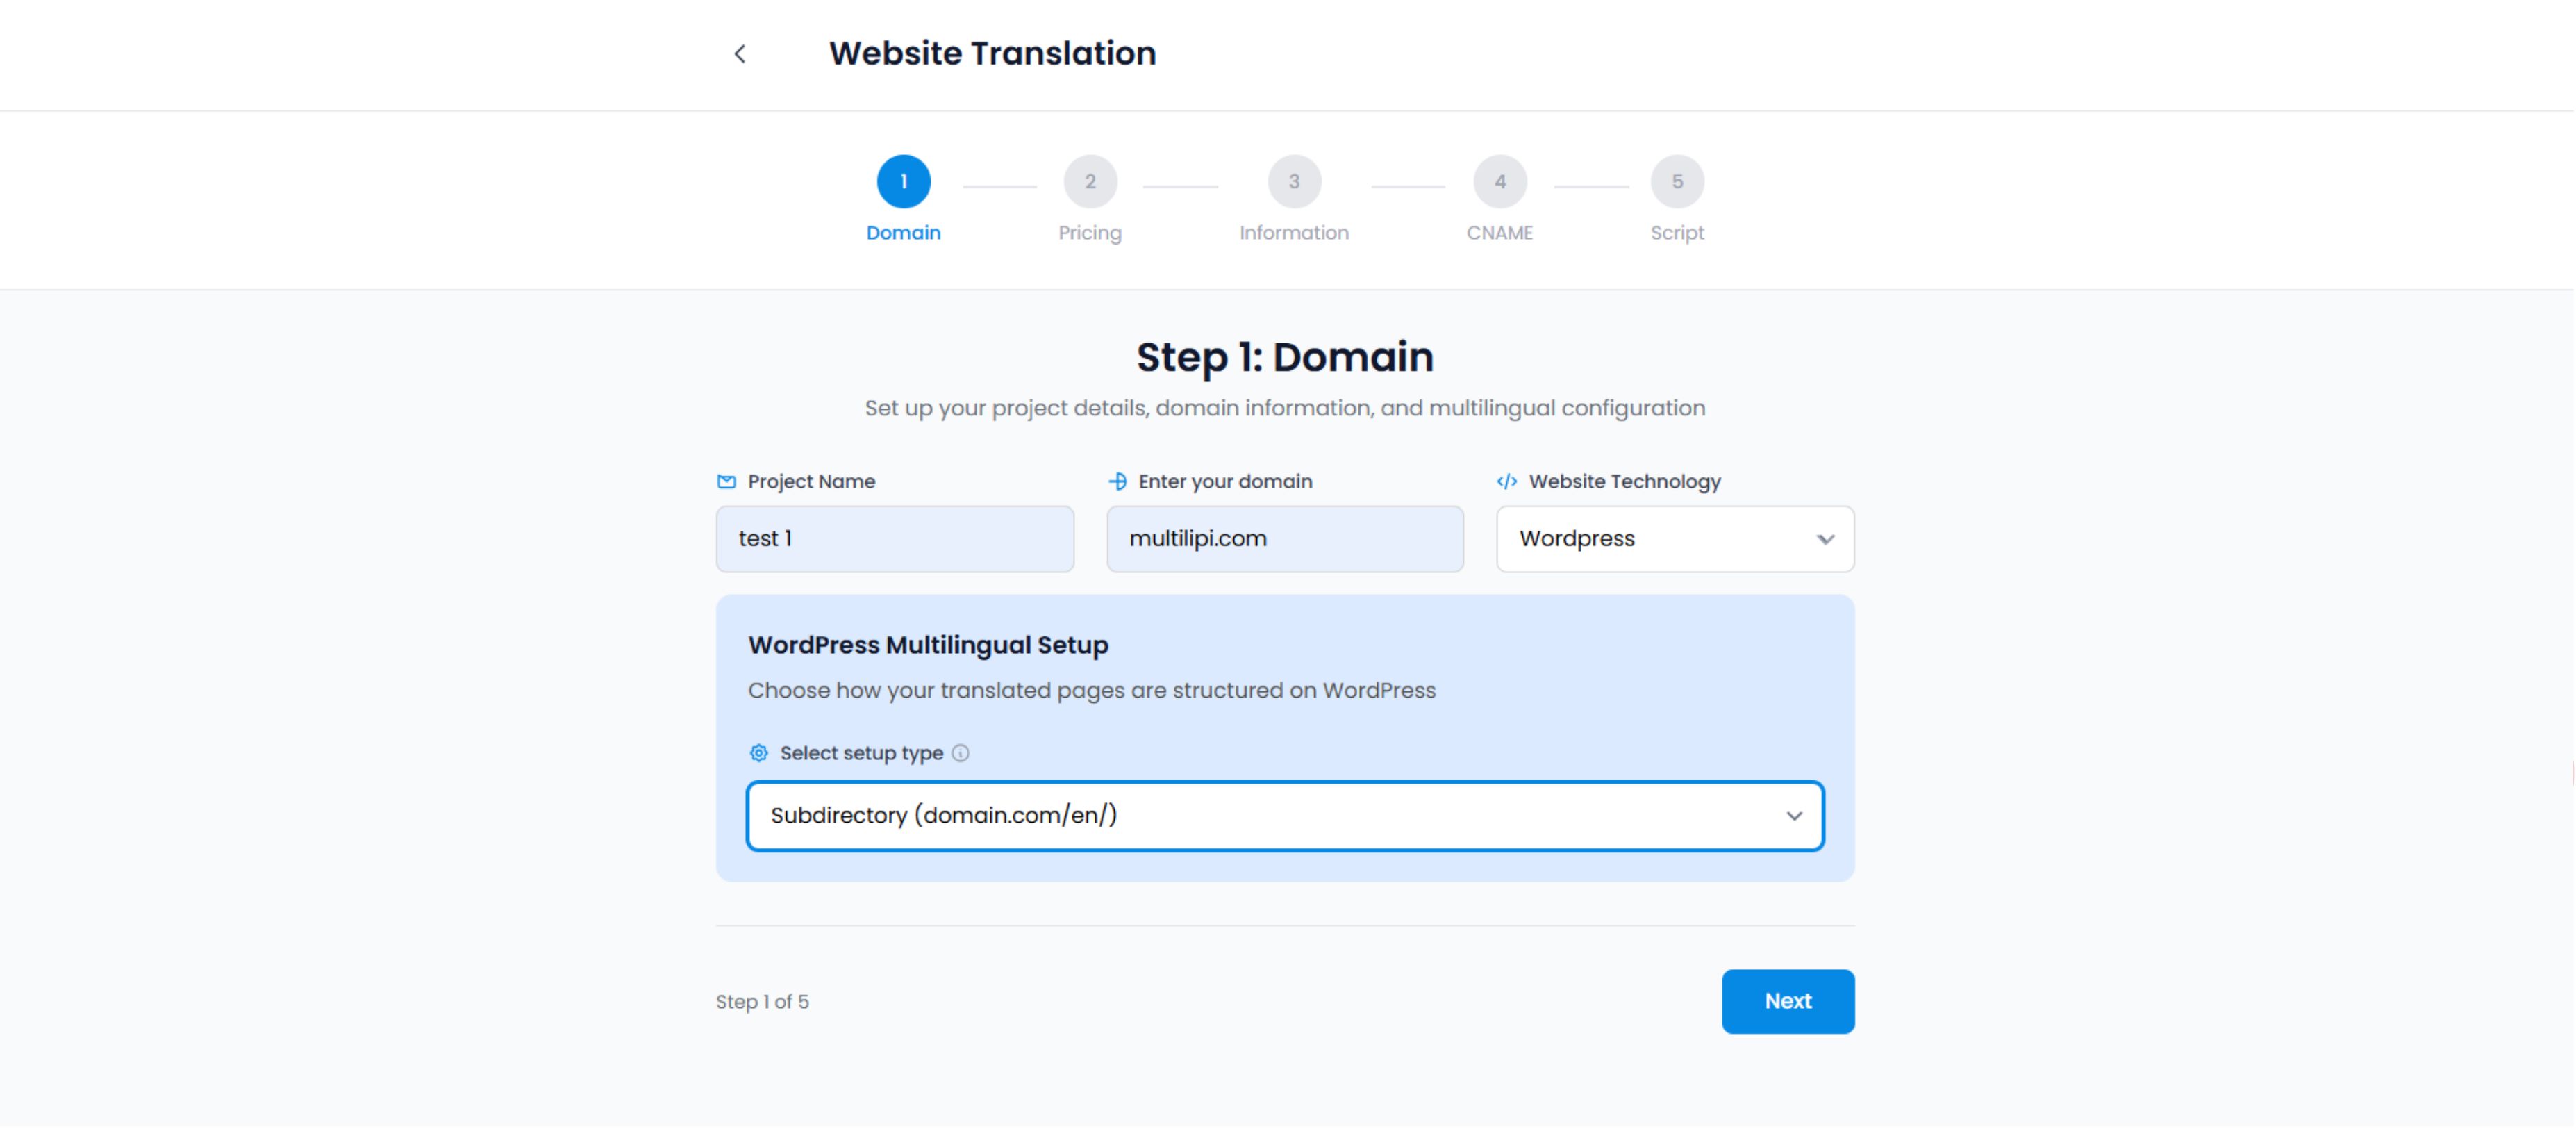
Assistant de configuration de la traduction de site Web - Étape de configuration du domaine
3. Étape 2 : Injection DNS (côté registraire)
Connectez-vous à votre fournisseur DNS et accédez au panneau de gestion DNS.
Connectez-vous à votre fournisseur DNS (GoDaddy, Cloudflare, Namecheap, Route53) et accédez au Gestion DNS panneau.
La configuration de l'enregistrement :
Vous devez ajouter un enregistrement distinct pour chaque langue que vous souhaitez servir sur un sous-domaine.
| Type d'enregistrement | Nom / Hôte | Valeur / Cible | TTL |
|---|---|---|---|
| CNAME | salut | [Coller la valeur du tableau de bord] | 1/2 heure (ou automatique) |
| CNAME | fr | [Coller la valeur du tableau de bord] | 1/2 heure (ou automatique) |
Type : Sélectionnez toujours CNAME.
Nom : Le code de langue (par exemple, hi, fr).
Valeur : Le point de terminaison Azure fourni dans votre tableau de bord (par exemple, multilipi.centralindia.cloudapp.azure.com).
TTL (Durée de vie) : Réglez sur 1/2 heure ou Automatique pour assurer une propagation rapide.
⚠️ Critique pour les utilisateurs de Cloudflare :
Si vous utilisez Cloudflare, vous devez désactiver OFF le "Nuage Orange" (Statut du Proxy) pour ces enregistrements CNAME spécifiques. Réglez-les sur "DNS uniquement" (Nuage gris). MultiLipi gère le SSL et la mise en cache pour ces sous-domaines ; le double proxy cause souvent des erreurs SSL.
4. Étape 3 : Propagation et vérification
Les modifications DNS ne sont pas toujours instantanées. Elles doivent se propager sur Internet.
Attendre :
La propagation prend généralement 15 à 30 minutes (mais peut prendre jusqu'à 24 heures).
Vérifier dans le tableau de bord :
Cliquez sur le bouton "Vérifier" dans votre panneau de configuration MultiLipi.
Succès : L'indicateur de statut devient vert.
Échec : Le système ne peut pas détecter l'enregistrement. Vérifiez les fautes de frappe ou les paramètres de proxy Cloudflare.
Test en direct :
Visitez hi.yoursite.com. Vous devriez voir votre site chargé avec le sélecteur de langue actif.
Dépannage de la poignée de main
Problèmes courants et leurs solutions
Erreurs SSL :
Si vous voyez un avertissement "Non sécurisé" sur le nouveau sous-domaine, attendez 15 minutes. MultiLipi provisionne automatiquement un certificat SSL géré pour le sous-domaine une fois l'enregistrement DNS vérifié.
Erreur 404 :
Assurez-vous d'avoir saisi la valeur cible exacte fournie dans le tableau de bord. Une seule faute de frappe interrompra la route.