How to Use the Visual Editor in MultiLipi
MultiLipi’s Visual Editor is designed to help you fine-tune the appearance and wording of your translated pages — all without writing a single line of code. It offers a real-time, WYSIWYG-style editor to visually manage fonts, styles, CSS, and layouts across devices (Desktop, Tablet, and Mobile). Plus, with recent upgrades, you now get AI content suggestions, image alt tag editinget SEO-aware editing in one unified interface.
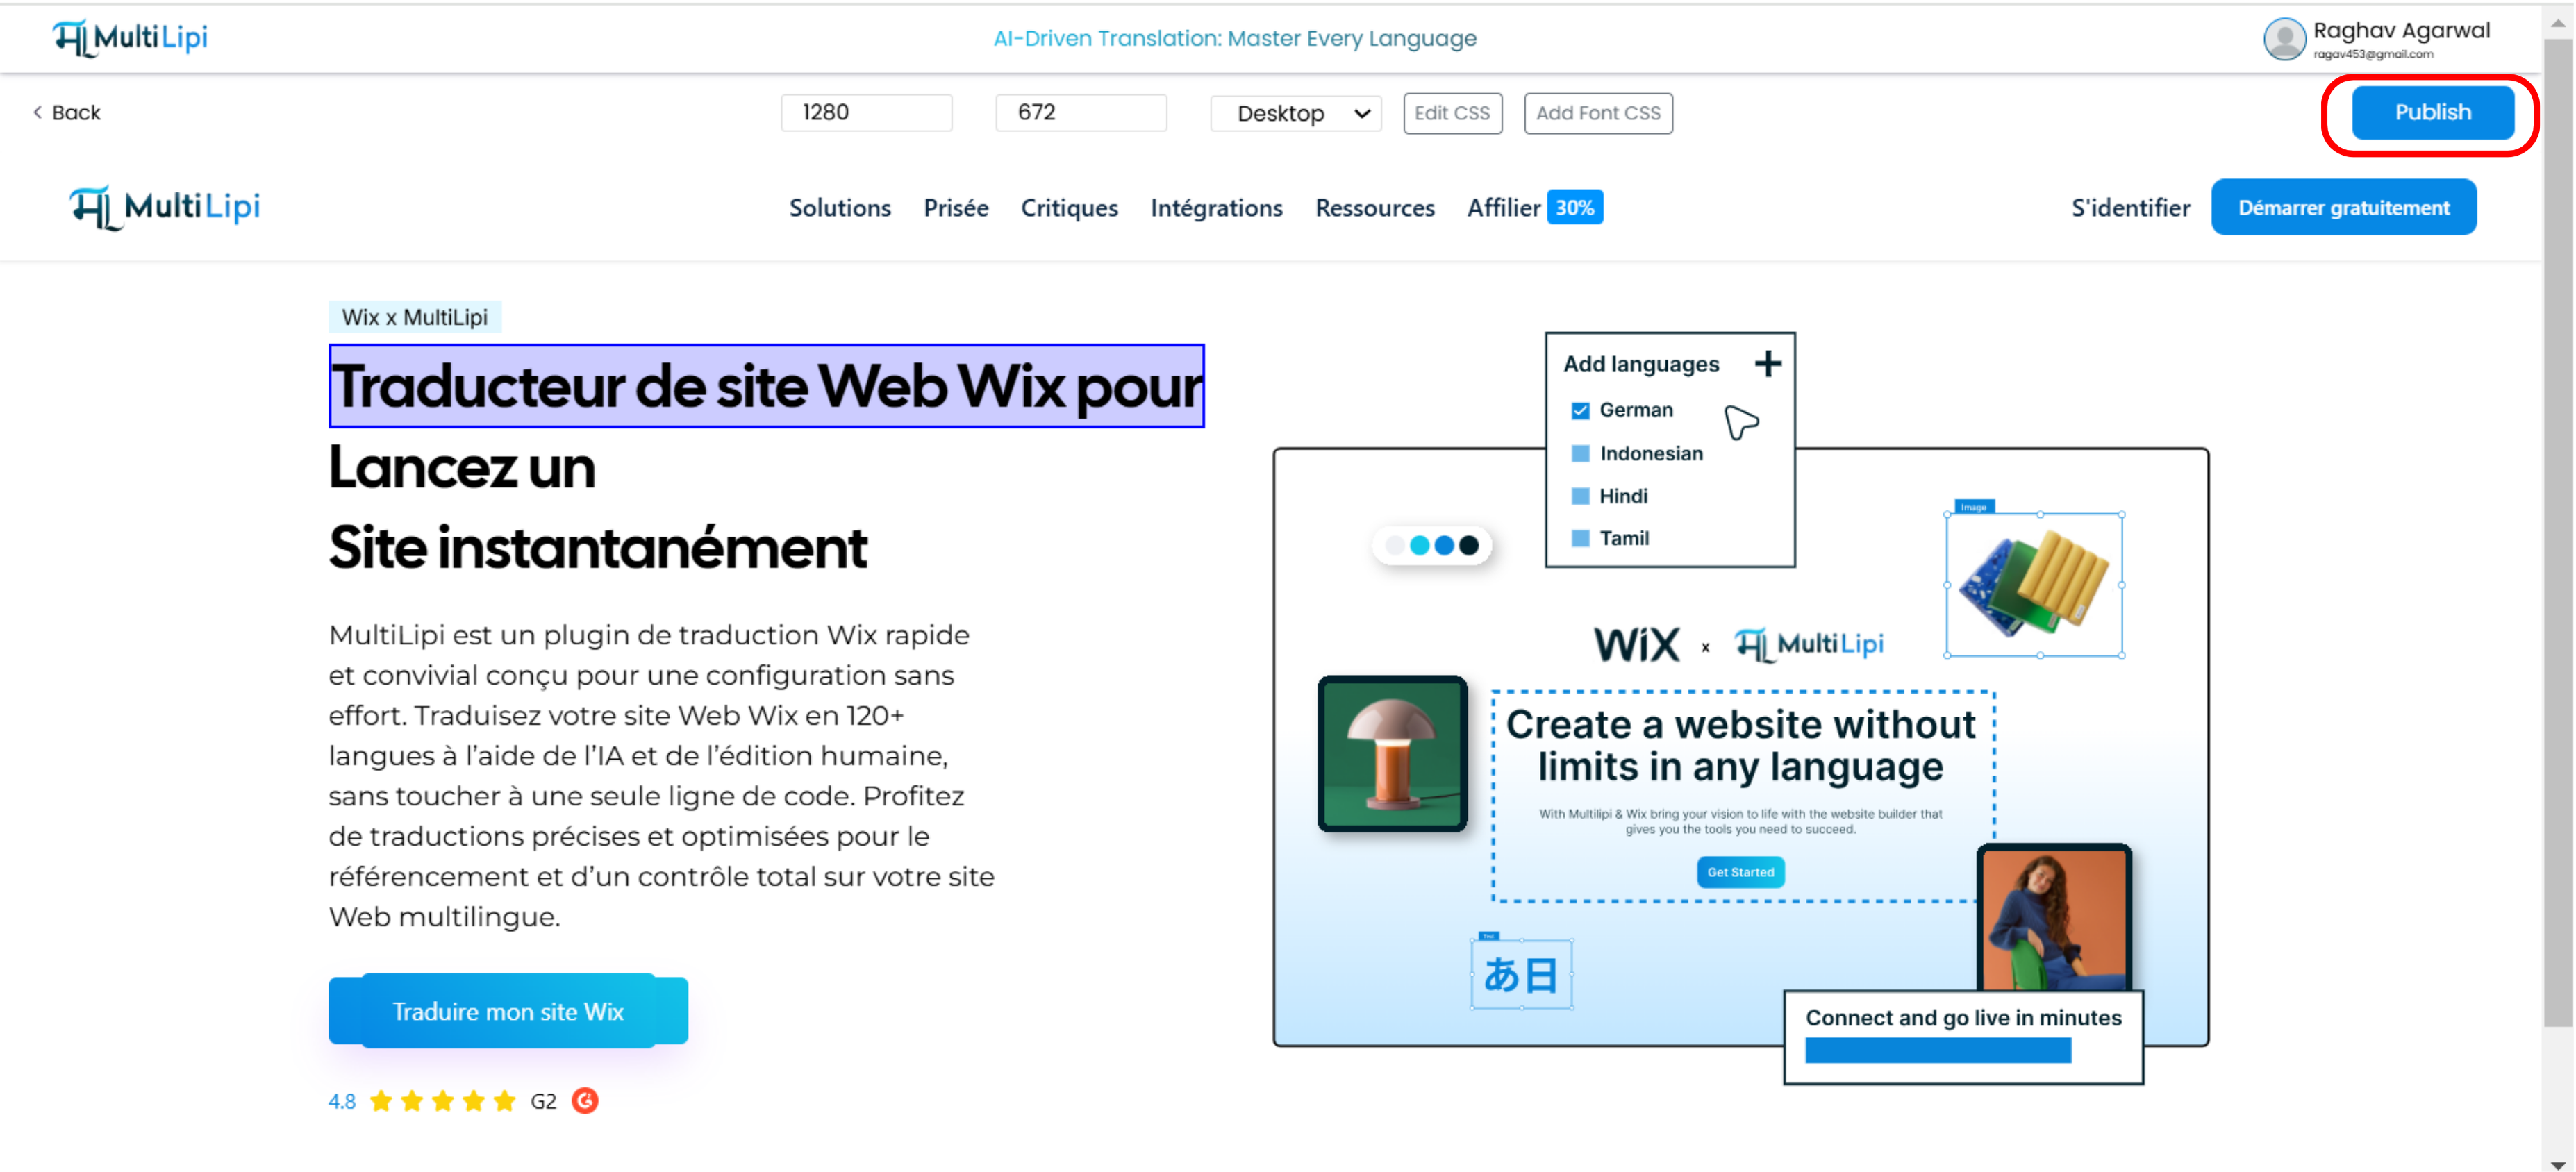
Steps to Use the Visual Editor
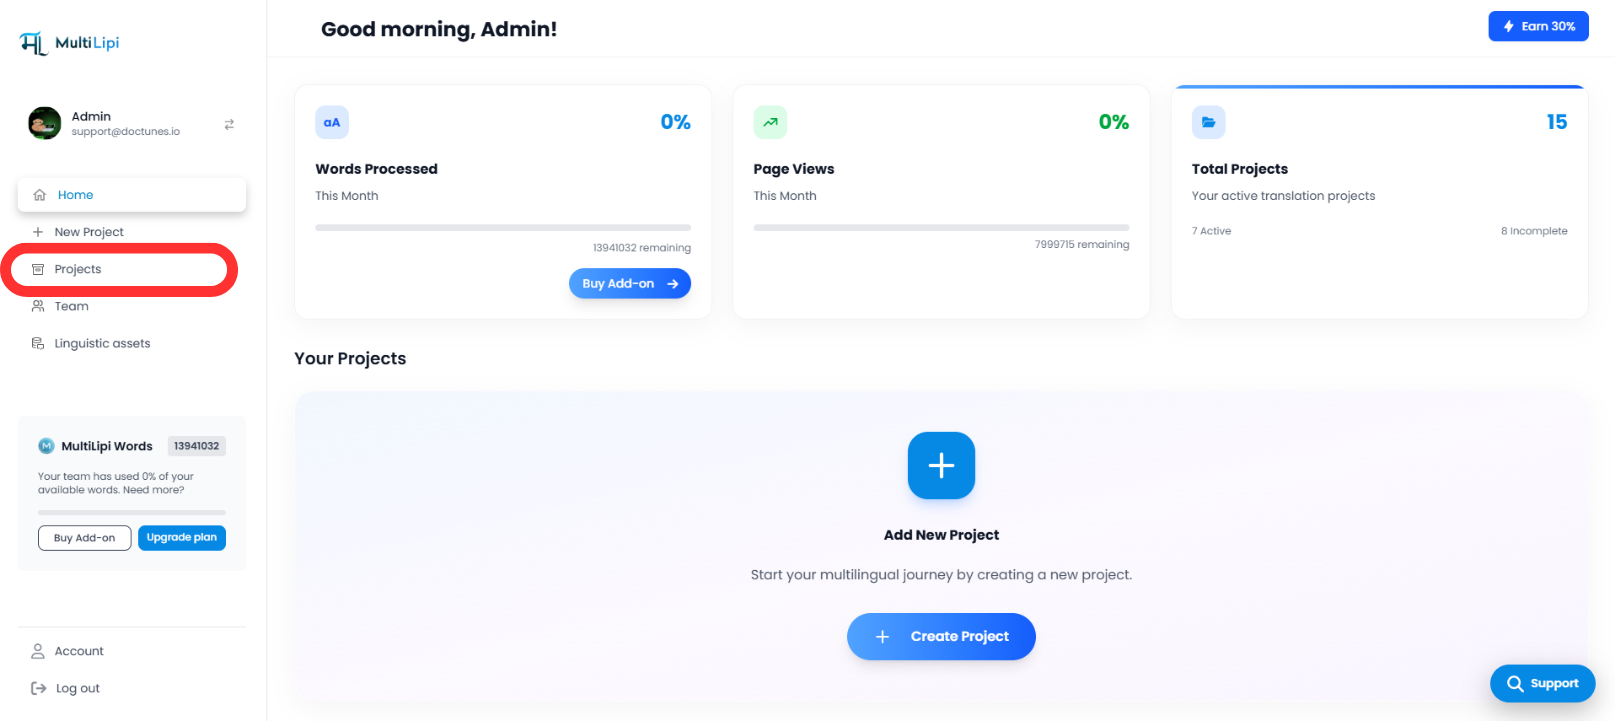
1. Ouvrez le tableau de bord de votre projet
Accédez à votre tableau de bord MultiLipi et sélectionnez le projet que vous souhaitez personnaliser.
2. Allez dans « URLs » sous « Traductions »
Cliquez sur le bouton Liens URL sous l’onglet Traductions section. This opens a list of translated paths associated with your domain.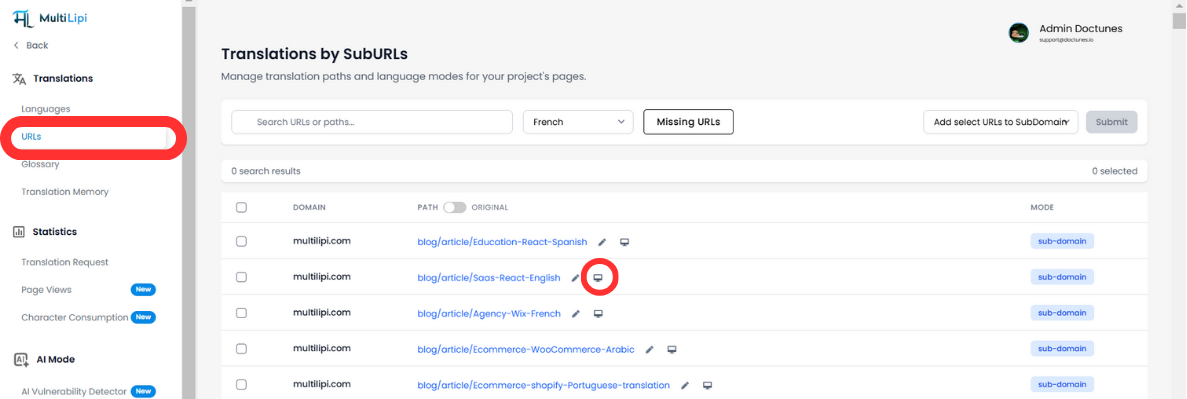
3. Click the Visual Editor Icon
Sur le côté droit de chaque ligne d’URL, cliquez sur l’icône visual editor icon (the brush inside a square) to launch the real-time editor for that page.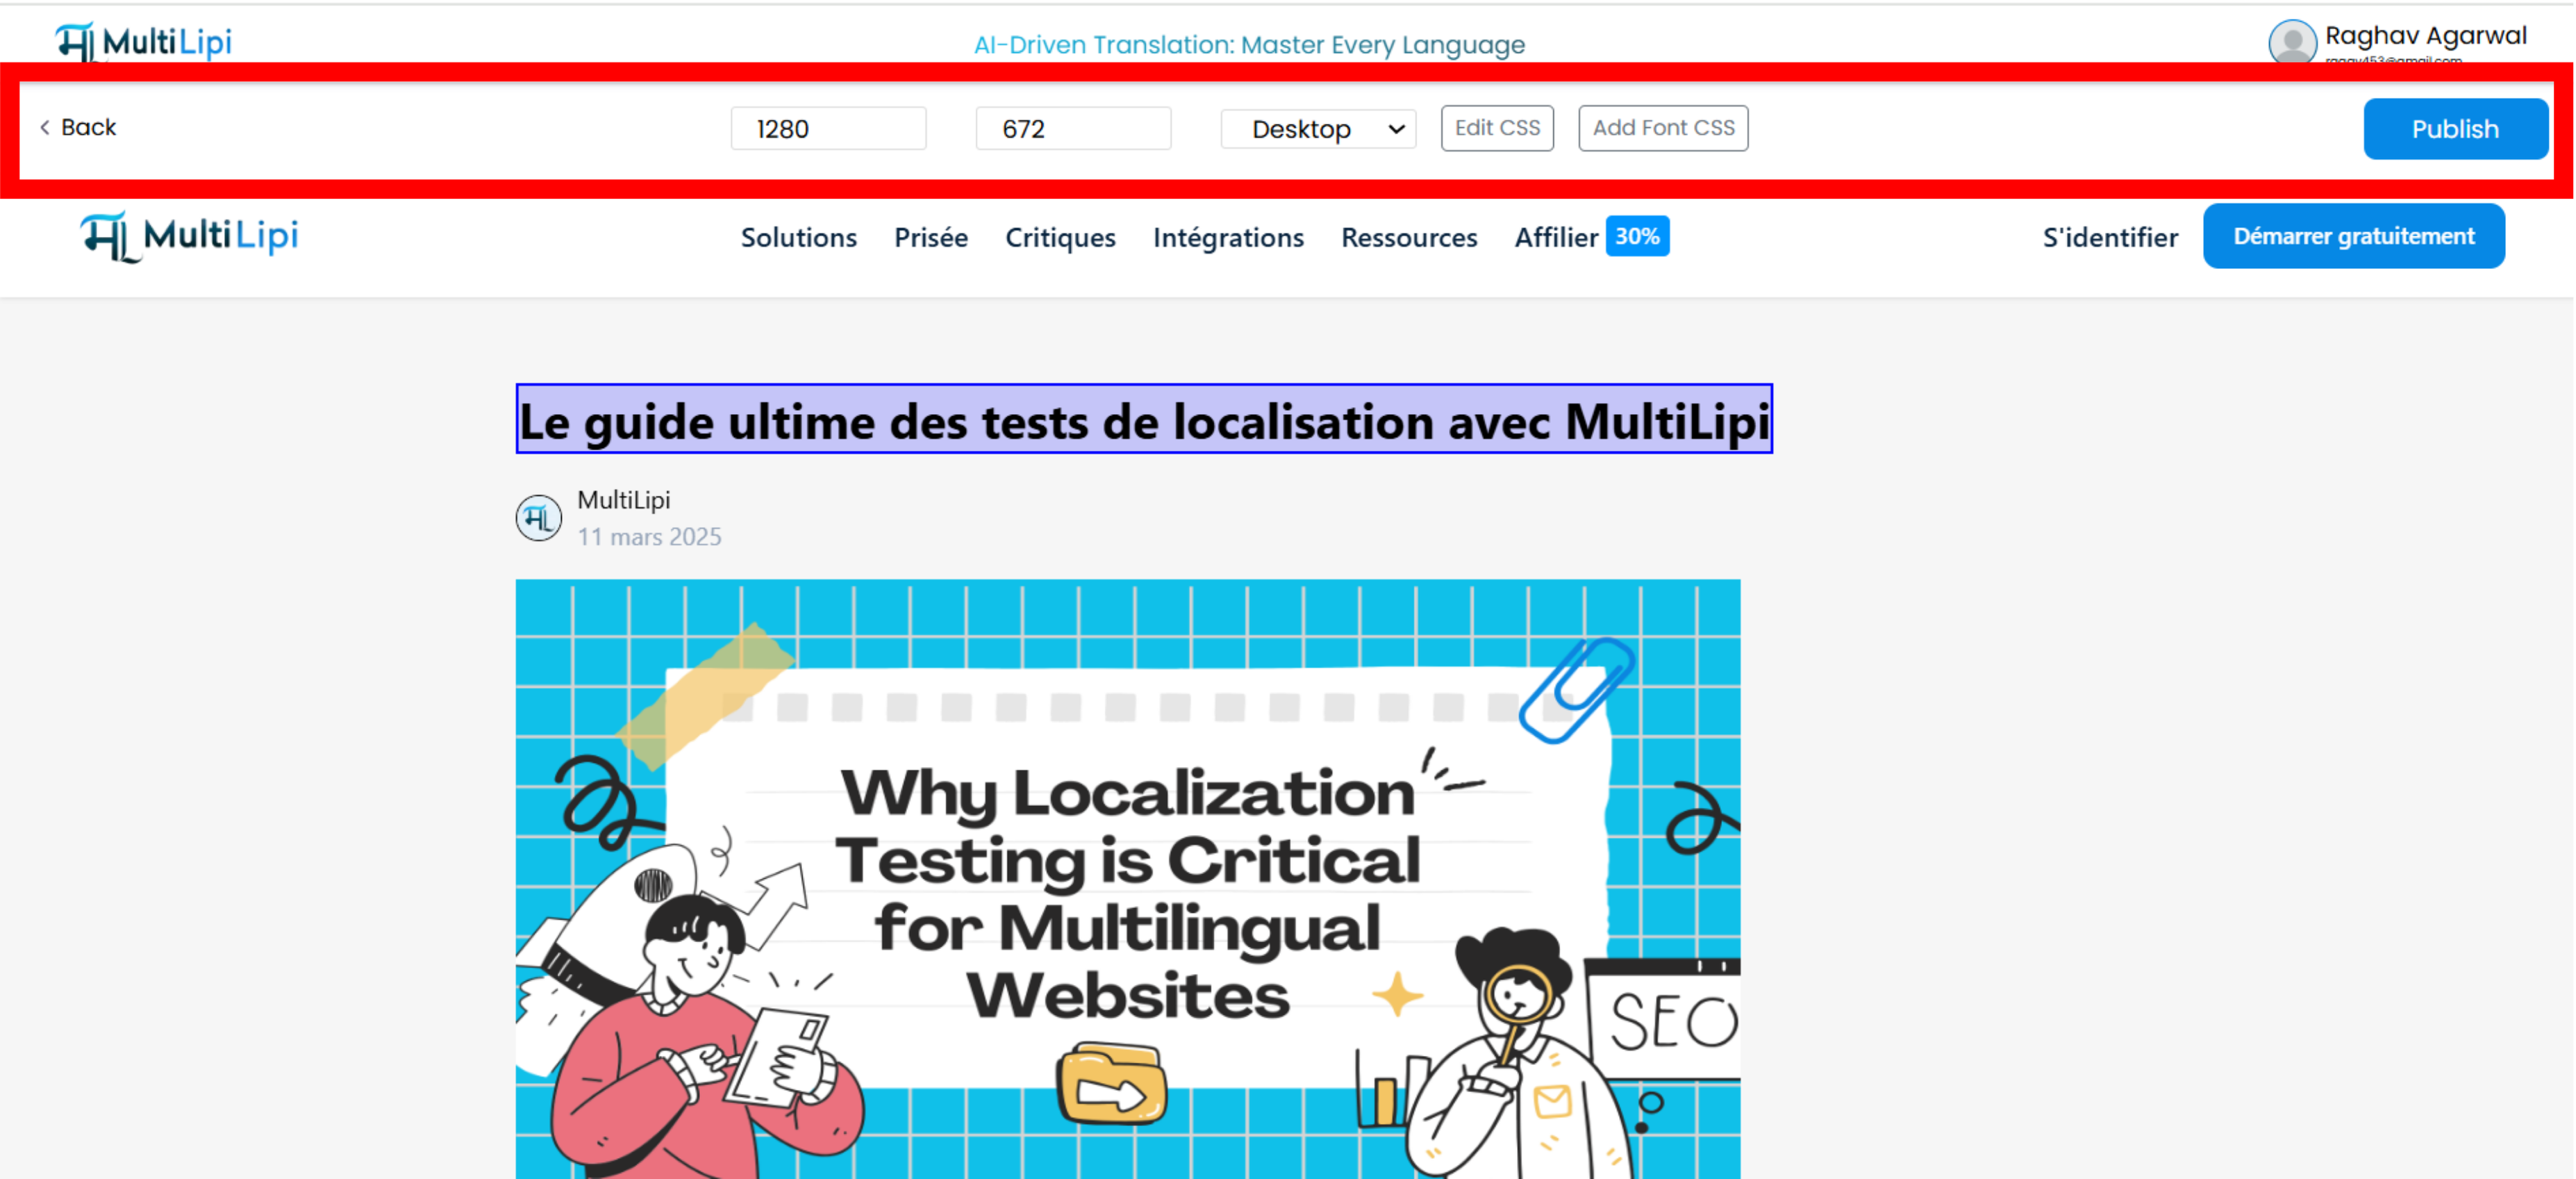
Ce que vous pouvez personnaliser
Once the editor loads, you gain access to a range of customization tools from the toolbar.
AI-Powered Editing Features
-
AI Suggestions for Text: Instantly view content improvement suggestions tone, clarity, and SEO optimization tailored for each language.
-
One-Click Replace: Click once to apply AI-recommended changes. No manual typing required.
-
Image Alt Tag Editing: Click any image to edit or localize the
Altattribute for SEO accessibility compliance. -
Auto Formatting Suggestions: Adjust headline levels, CTA tone, and formatting via smart AI cues.
4. Switch Between Devices
Prévisualisez et ajustez facilement l’affichage de vos traductions Bureau , Tablette et Mobile à l’aide de la liste déroulante de l’appareil. 
5. Edit CSS for Styling
Cliquez sur l’icône “Edit CSS” button to write custom CSS that modifies the style of your translated content without changing your original layout.
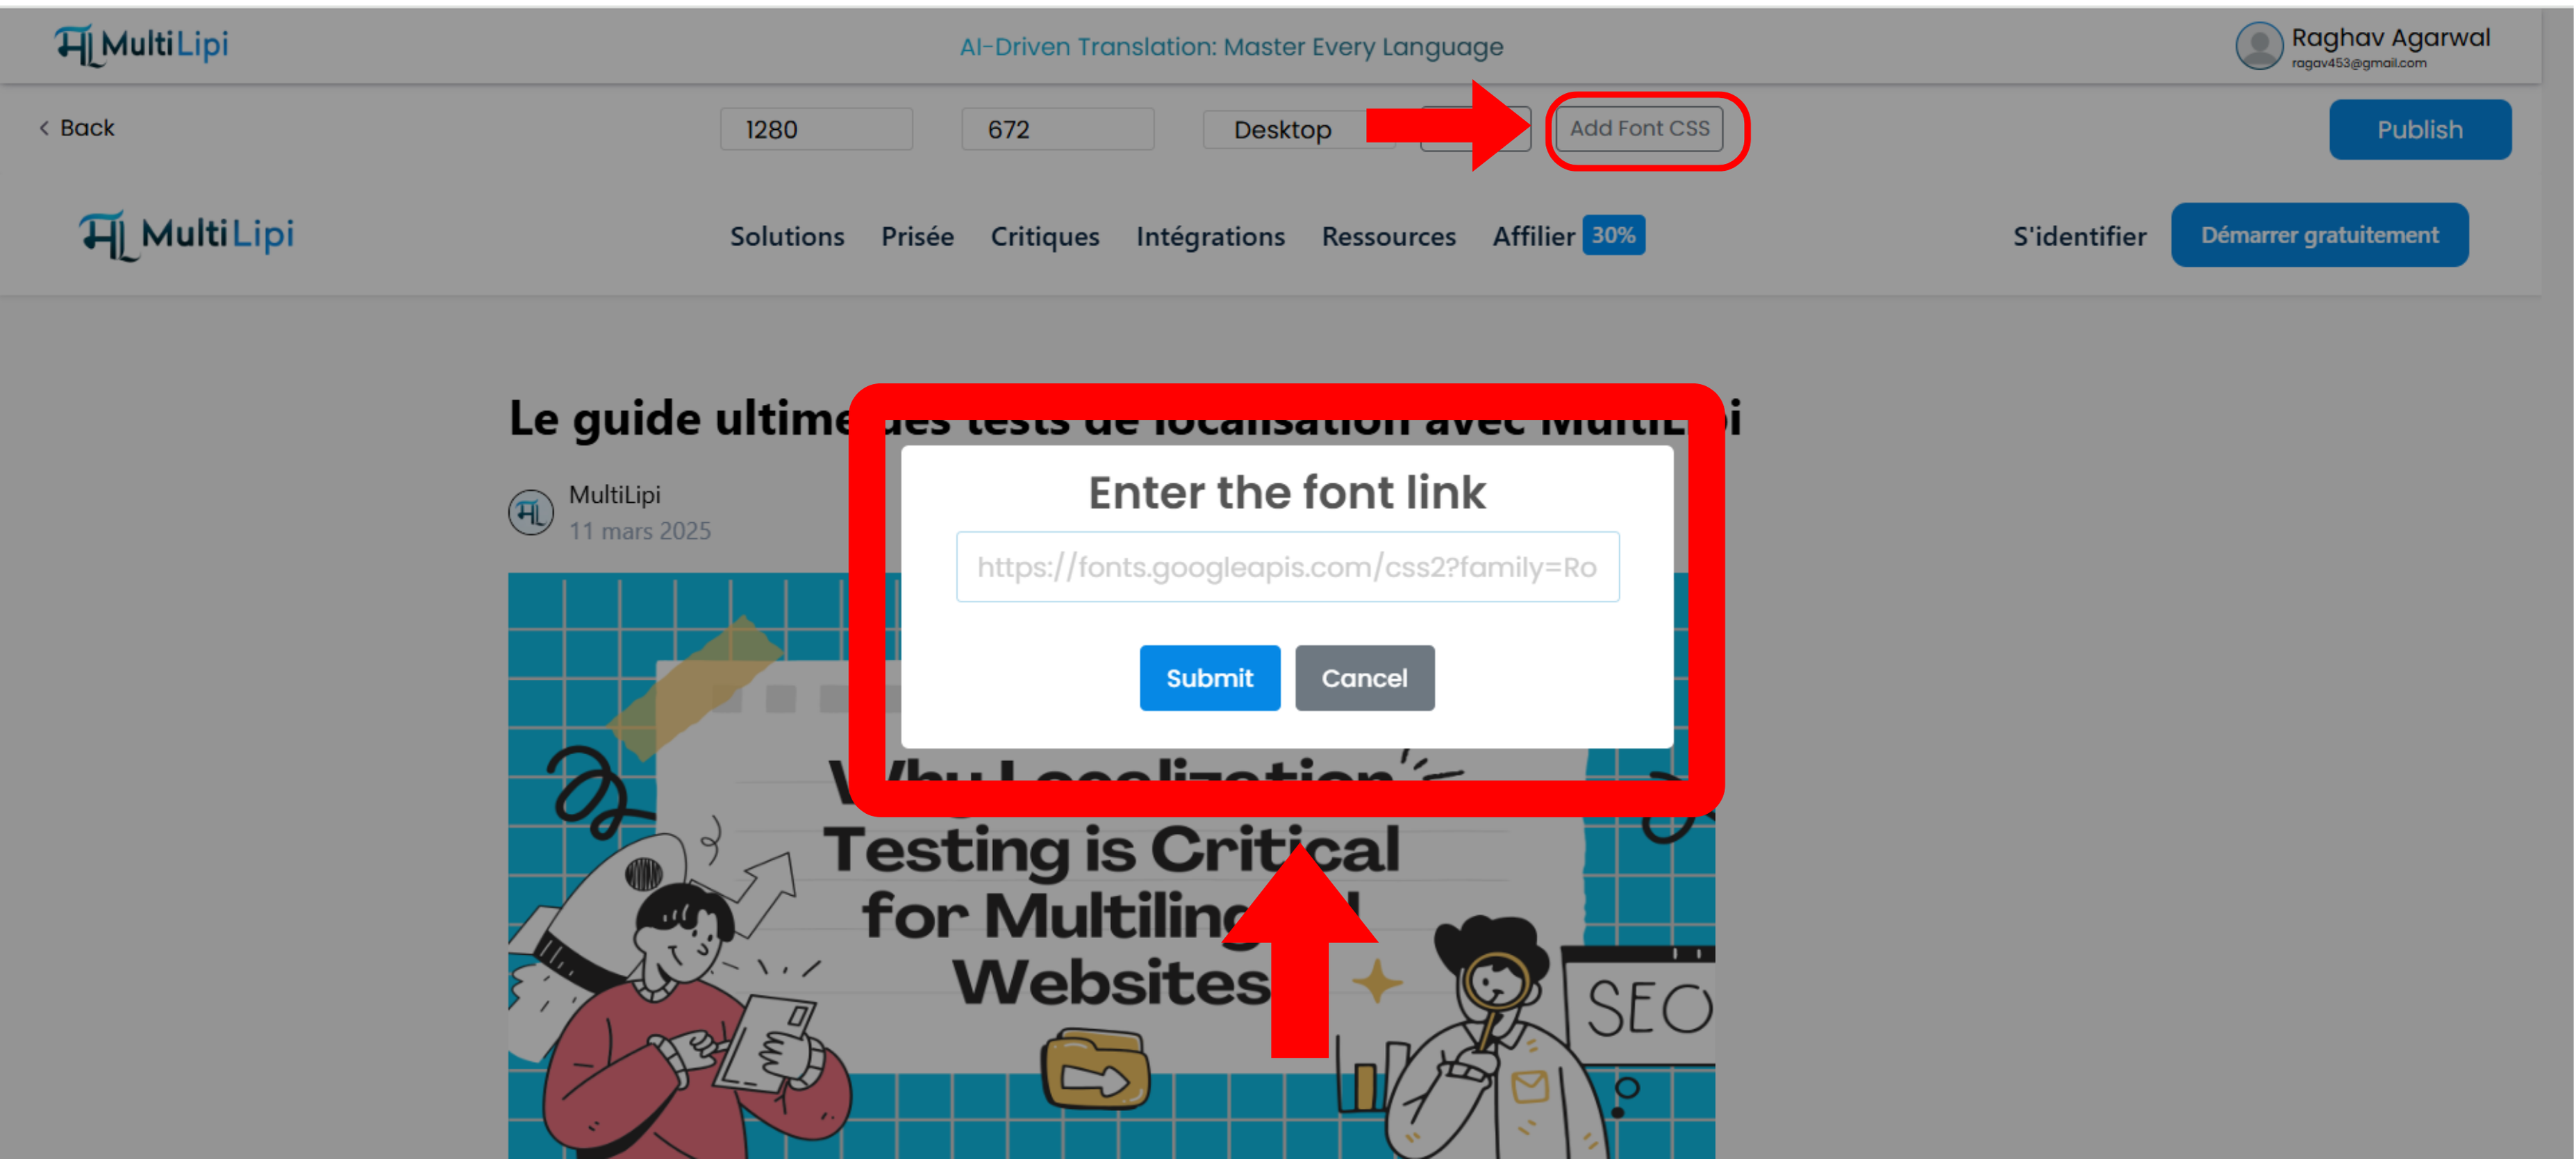
6. Ajouter le CSS de Google Fonts
Vous voulez une police différente pour le contenu traduit ? Collez votre Polices Google dans l’option « Ajouter une police CSS ».
7. Publiez vos modifications
Once you're satisfied with the edits, hit « Publier » at the top right. The changes go live instantly on your multilingual version.
Why Use the Visual Editor?
-
No Coding Required – Built for non-technical users
-
Real-Time Preview – See live translated content as you edit
-
Full Design Control – Fonts, layout, CSS, image alts, and more
-
AI-Powered Workflow – From smart suggestions to one-click updates
-
Device-Specific Layouts – Preview per device type
-
Seamless Publishing – Push changes live instantly
Have questions or feedback about the Visual Editor? Contact our support team, we're here to help!
Commentaires